
An existing student and the correct course, active instructor, suitable vehicle, availability and fulfilled practice-start conditions.
Follow these steps
Choose day and instructor
In Day · instructors set the date and find the instructor column. On a phone choose the instructor in the mobile instructor field.
Open the lesson form
Select an available future time cell. Alternatively use List, week and lesson operations and select Schedule new lesson.
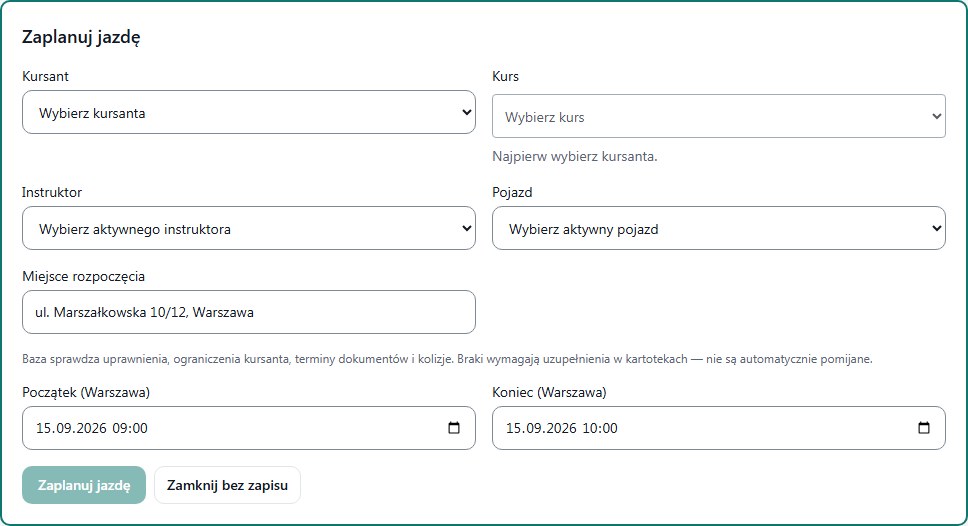
Select student and course
Choose the person and then the correct course. If courses did not load or there is no active enrolment, return to the student record. Do not choose a similarly named course at random.
Verify resources and time
Fill instructor, vehicle, pickup location, start and end. Time fields use Warsaw time. Verify that the vehicle matches the arrangements for this student.
Save once and verify
Select Save lesson. After confirmation open the card in Schedule and compare all data. Refresh the page: the lesson should still be visible.
What to enter and what it means
- Student and course
- The person and the specific training enrolment — both links are required.
- Lesson instructor / vehicle
- The person teaching this lesson and the car used at this time.
- Start / end
- Date and times. End must be after start; do not schedule in the past.
- Pickup location
- A meeting point the student can understand, not just a city name.
How to verify it worked
Schedule shows one saved lesson for the correct course with instructor, vehicle, time and pickup point.
A light calendar background means saved working time, not a guarantee that the vehicle and student are free. Final checks happen during save.
After an unknown-result message, reload Schedule and find the slot. Do not immediately create a second identical lesson.